The Wall-Mounted Sink Installation
Published on:
Everything started last year when our water provider sent a notification that it was time to change our meter, so we didn’t ignore it and scheduled the appointment.
When the technician arrived, she found out our meter wasn’t reachable and couldn’t be replaced: the bathroom vanity obstructed it and there was no way to work around it. The vanity had to be removed!
The technician left, and we concluded we had to remove the vanity and install a pedestal sink, then schedule a new appointment to change the meter. How difficult could it be? Well… we were about to find out.
So, the first step was to remove the installed vanity and sink while keeping the existing drain and water lines, as well as the walls and floor intact (as much as possible). What we thought would be a simple silicone cut, unscrew bolts and lift job turned into a mini demolition task. But step one was completed: the old vanity was gone, and the meter was reachable. It was time to call the water provider.
With no sink at all, the technician easily replaced and calibrated the meter.
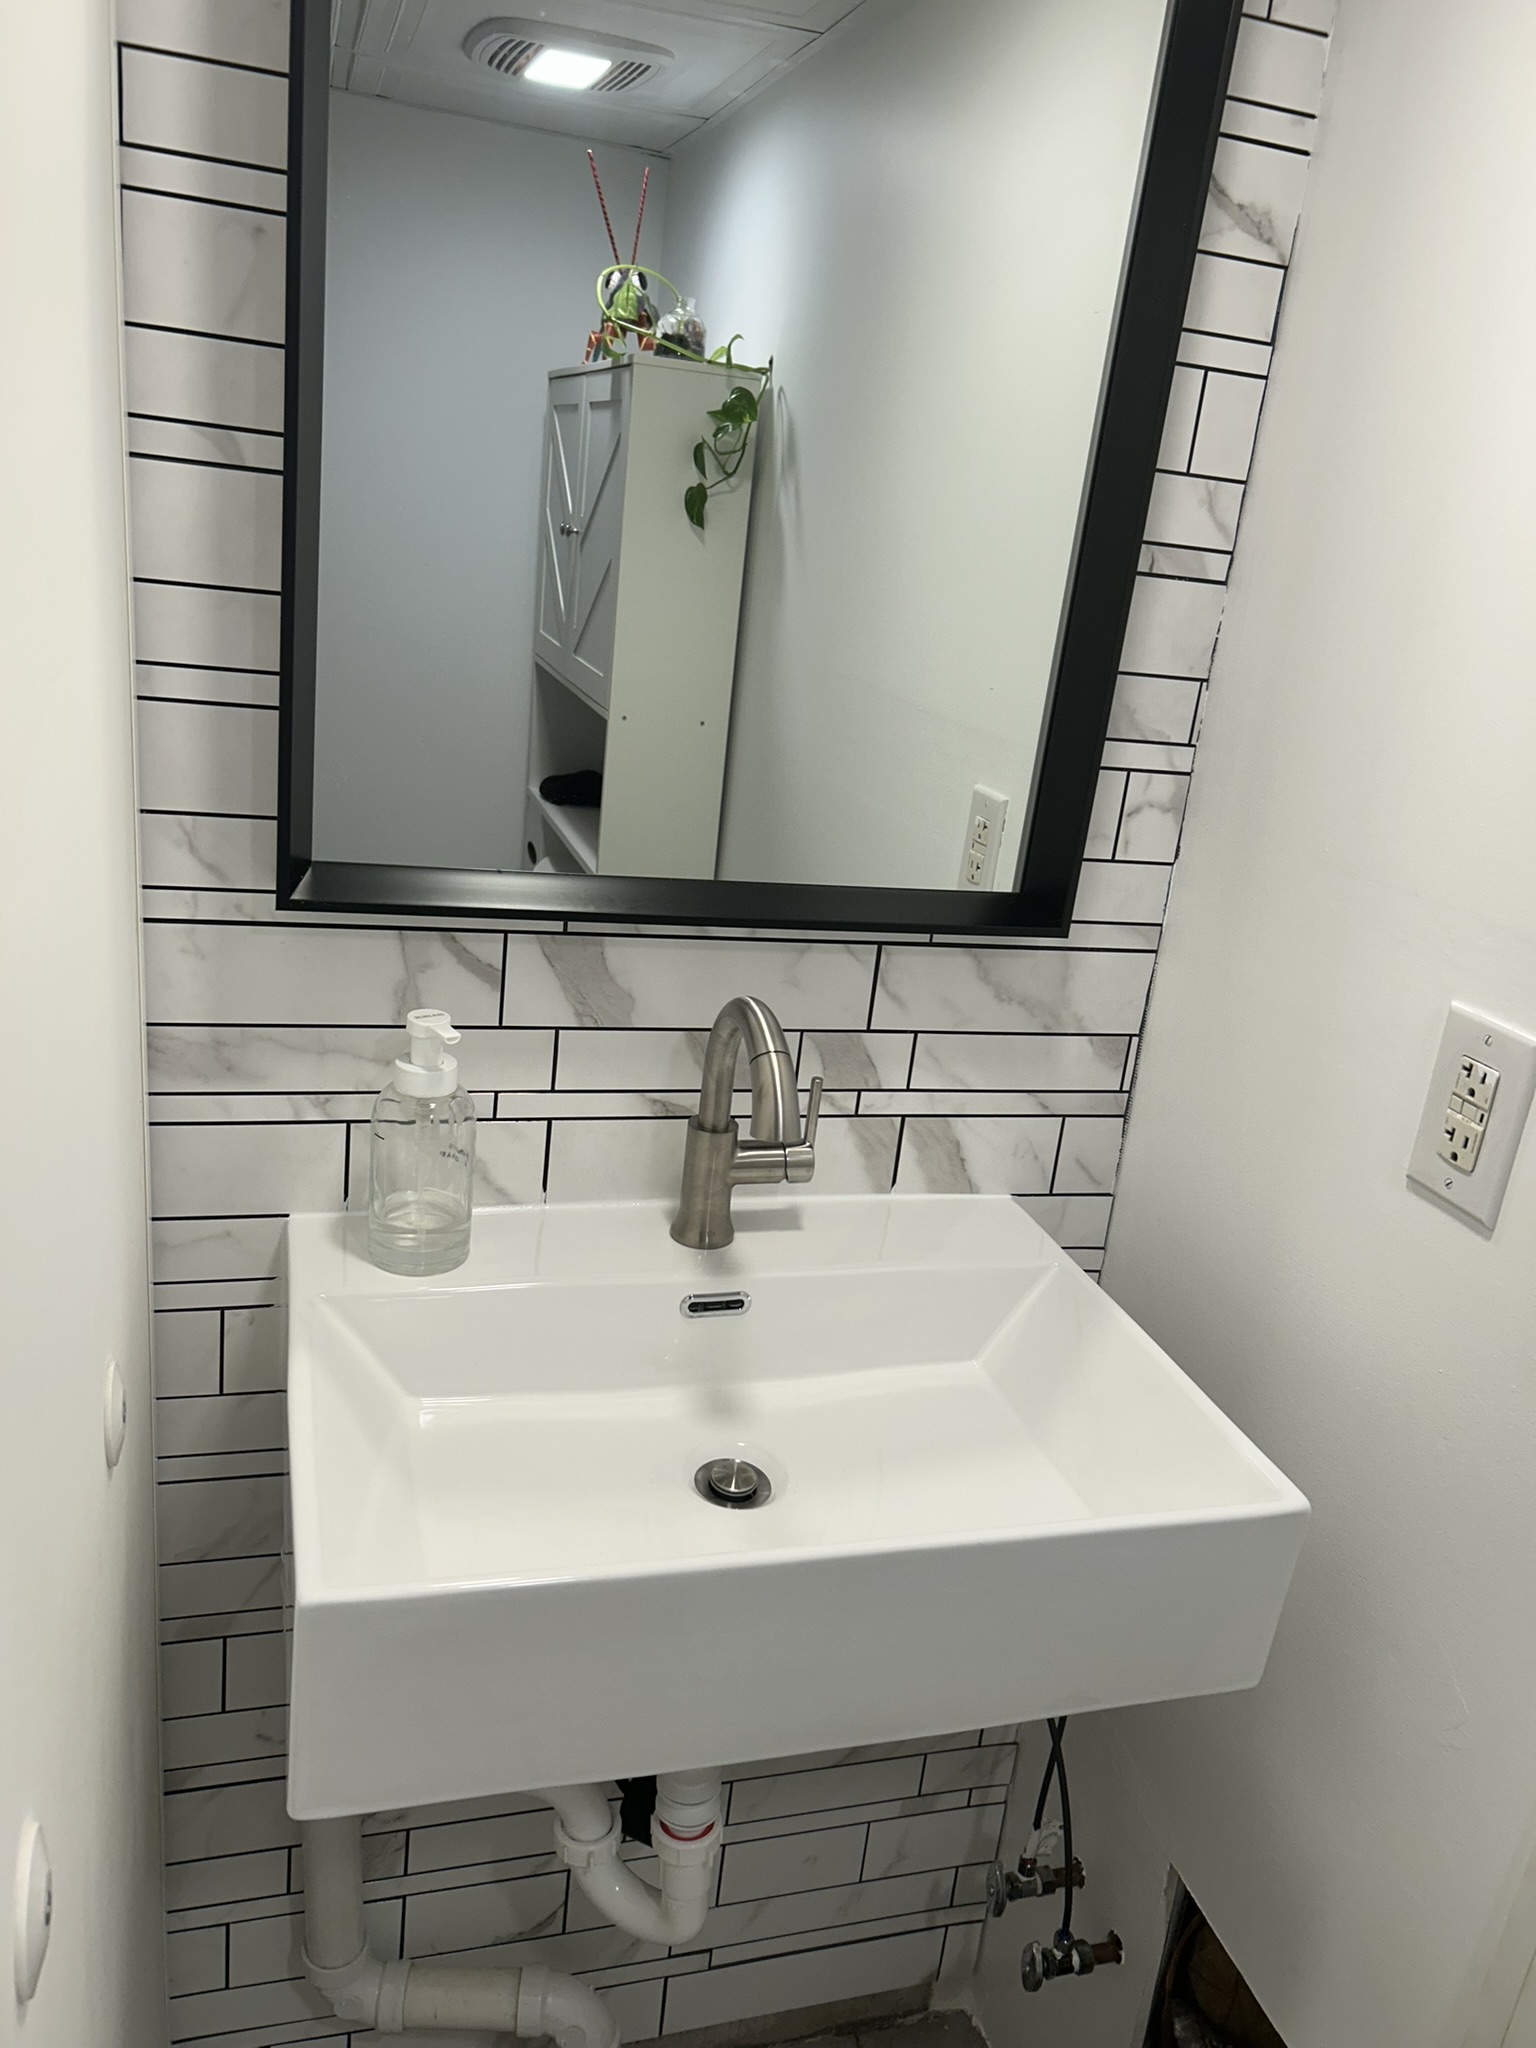
With the new meter in place, the next task was to install the new vanity, and make sure the new meter and shut off valve were unobstructed. After doing some measurements, we noticed the pedestal sink we planned at first would not be viable, so the next option was a wall-mounted sink. Here is where my predicament began.
If you are familiar with bathrooms or home improvements, you know that wall-mounted sinks require reinforcement inside the drywall, typically wood studs, to support the sink’s weight and the additional pressure from other “objects.” (Do you have kids? Have you counted how many times they try to stand on or hang from the sink?)
So, without hesitation, I started planning how to open a hole big enough to insert the studs and attach them to the existing ones. I did the measurements, made a list of all the tools and materials I needed, and continued planning on how to reinforce the wall with minimal destruction to the drywall. I spent days thinking about the most efficient way to have a stable wall-mounted sink.
Although I could tell you about how many times I measured and sketched the installation, consulted ChatGPT, YouTube, and other forums, I will ease the pain and jump to the point: when I started drilling the drywall to make space for the stud, I noticed there were no studs! The drywall was mounted directly on concrete.
That meant the whole reinforcement project (cutting drywall, installing studs, patching the drywall and avoiding breaking any water or drain pipes down the road) was unnecessary. The solid concrete wall provided the required support for the new sink.
So, instead of doing a complicated project, I just drilled two holes into the wall!
In the end, everything worked fine, and our guest bathroom is fully functional again. But the lesson here applies to more than just bathroom remodeling:
In life, as in work, we often rush to solve a problem before confirming whether it even exists.
If I had taken a moment to see what was behind the drywall before measuring and buying materials, I would’ve finished faster. I was crafting a solution for a problem that didn’t exist.
Even in environments ruled by speed and agility, it is worth pausing to analyze the whole picture. What may feel like a waste of time can actually lead you to complete your task faster.
I won’t get into how often I’ve seen the same pattern at work: launching (malfunctioning) products because delivering on time is more important than fixing the root cause from the get-go.
I promise next time I’ll include photos of the whole process, not just the finished product.